Paper 4473 Disposition
As a Federal Firearms Licensee (FFL), it is required that you track the regulated activities of a firearm by accurately completing acquisition and disposition entries. You may, however, desire to also keep records of the 4473 transactions and keep them in a file or even a physical bound book. The Paper 4473 transaction makes recording a compliant disposition easy and provides informed auditing and review of the transaction by adding optional notes and attachments.
Task Overview:
The following procedure will walk you through the steps involved in creating a new paper 4473 disposition:
Note: The following information provides technical instruction for using the software only, and should not be considered an interpretation or guidance for the laws and regulations. Contact our partner, Orchid Advisors for regulatory guidance.
Before you process a Paper 4473 Disposition, you will need to enable a setting that assigns a sequence number to each transaction.
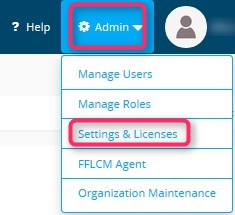
Click on Admin, then Settings & Licenses.
In the Settings screen, enable the setting Use Sequence Numbers on Paper 4473s by clicking on the check box to the right.
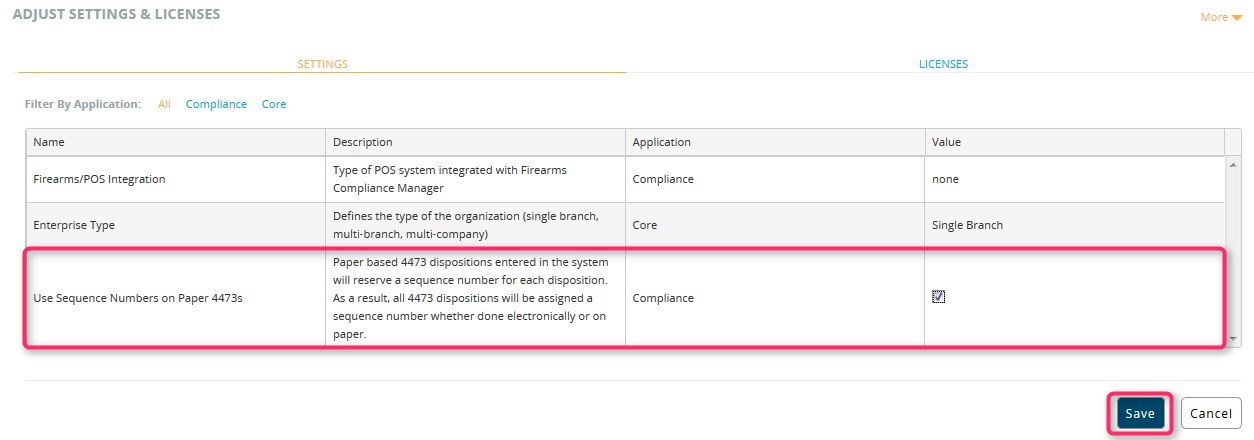
Click Save.
Start a new 4473 Disposition
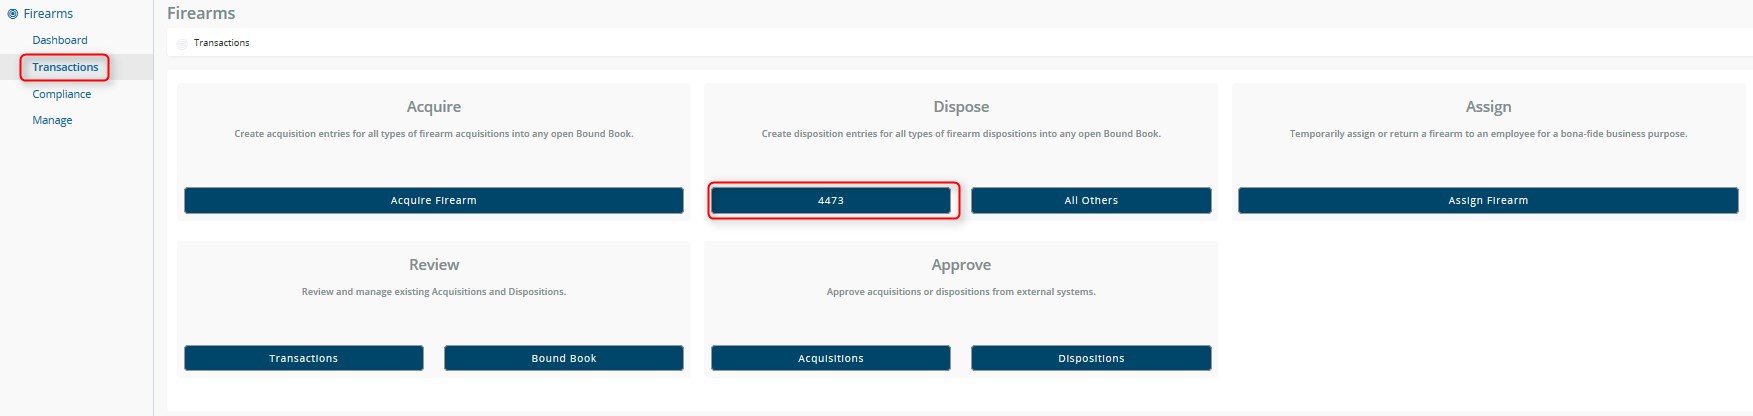
From the left navigation menu, click on Firearms, Transactions, then 4473.
In the Paper 4473 section, click on Process.

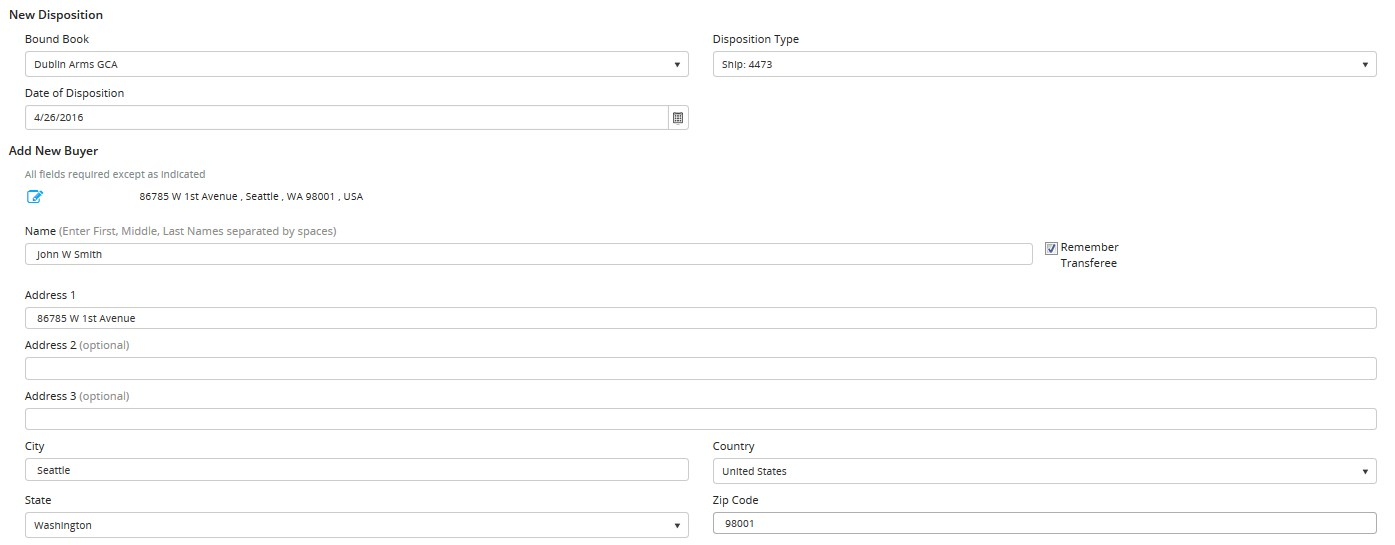
Complete the New Disposition Form
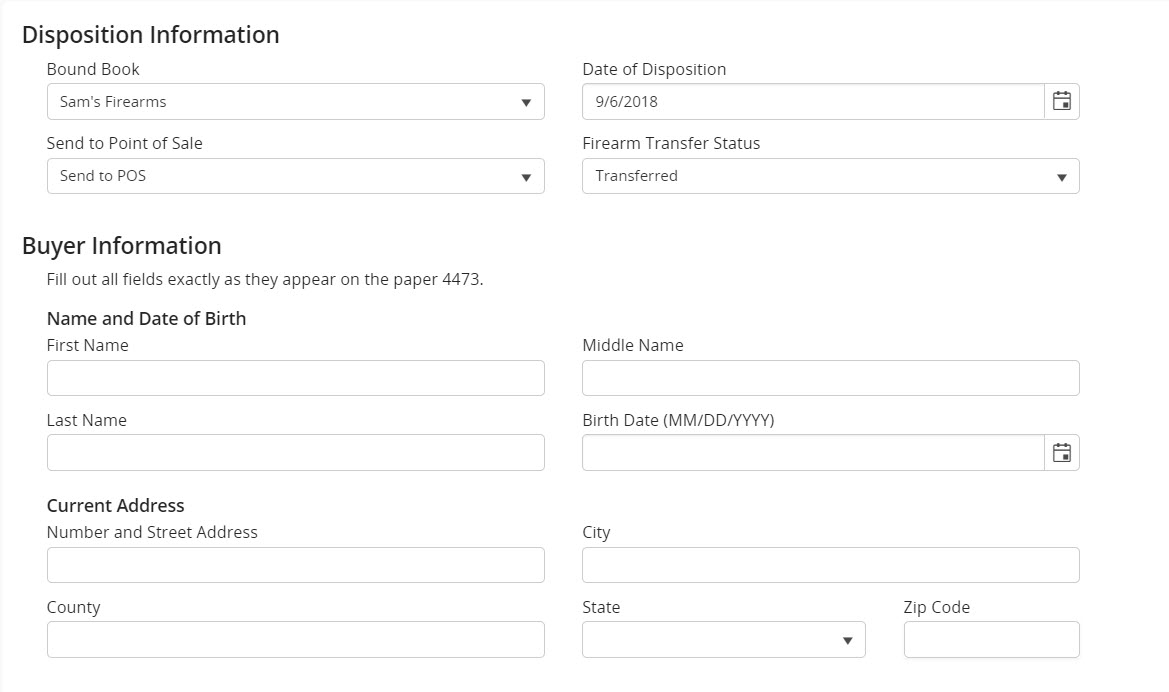
Fill in at least the required fields.
Bound Book – Select the desired Bound Book
Date of Disposition – Enter the date of the disposition
Send to Point of Sale
Send to POS - Send transaction to POS.
Don't Send - Do not send the transaction to POS.
Firearm Transfer Status
Cancelled or Denied - A new flow will be triggerd that assigns a sequence number and creates records available for review in the 4473 review screen.
Transferred - This will create disposition records flagged as belonging to a transferred paper 4473.
Name – Buyer (transferee) name
Remember Transferee – Check this box to save the buyer (transferee) in the database for future use. Defaults to unchecked.
Address 1, 2, & 3 – Buyer’s address
City – Buyer’s city
Country – Buyer’s country
State – Buyer’s state
Zip Code – Buyer’s zip code
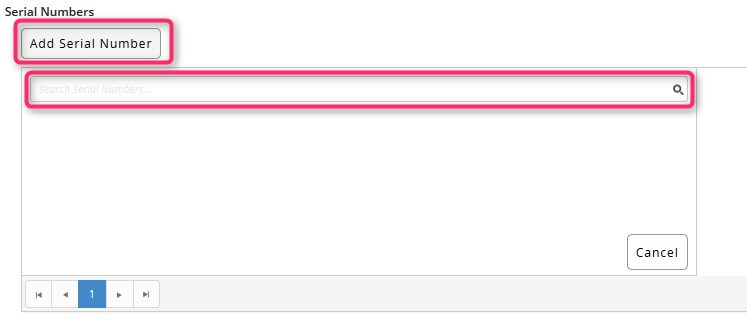
Click on Add Serial Number, type the firearm’s serial number in the search field, and select the desired firearm.
In the Notes section, enter any notes pertaining to the transaction.
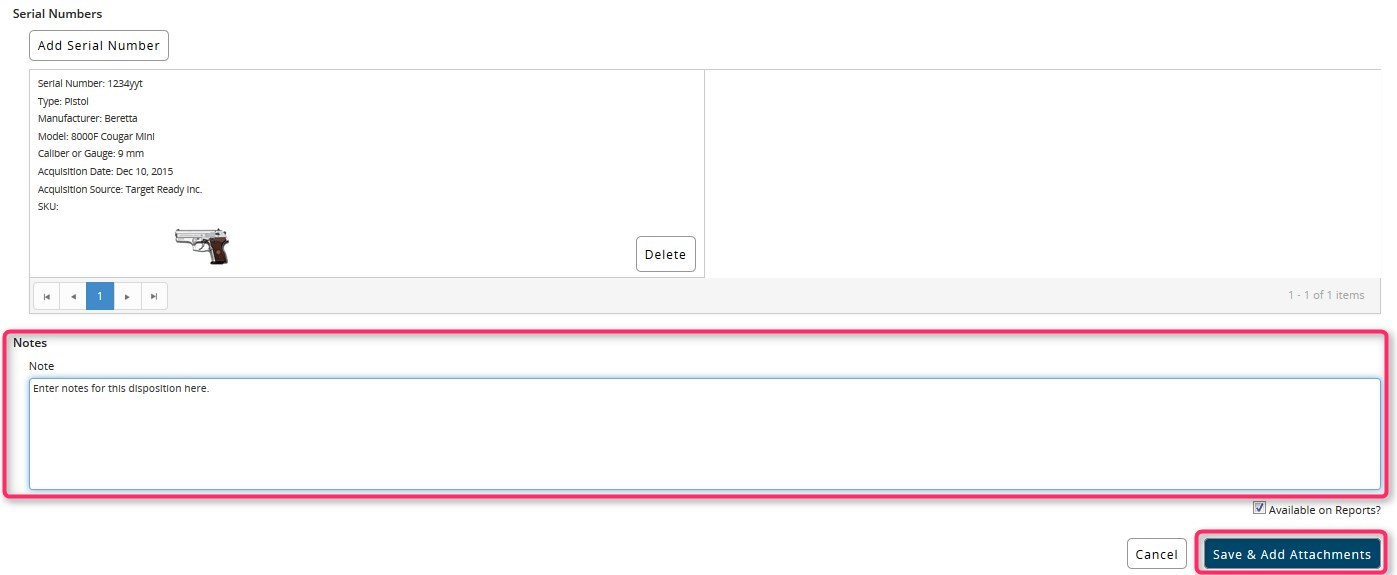
To save the disposition and add attachments, click Save & Add Attachments.

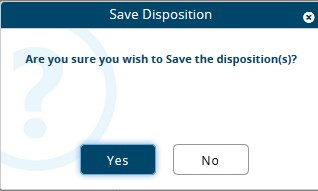
At the dialog ‘Save Disposition’, click Yes if you wish to save.
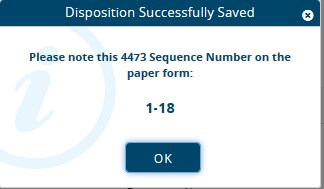
At the dialog ‘Disposition Successfully Saved’, write the sequence number provided on your paper 4473 form and click OK to continue.
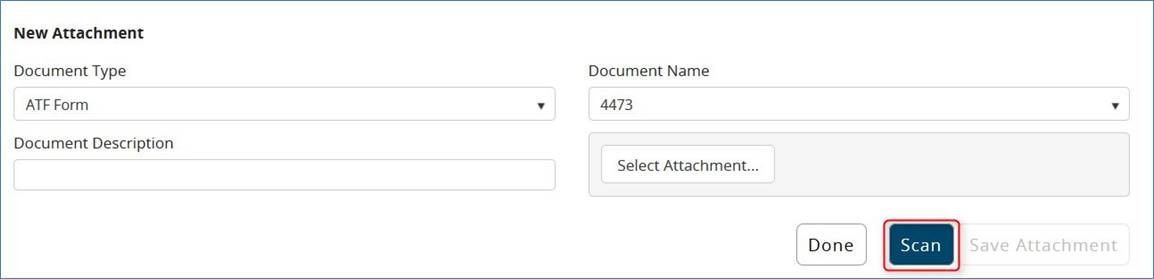
To attach a document, click Select Document.

Browse for the desired document on your PC and click Open.

Once the document has been selected, click on Save Attachment.

If you need to scan a document, click the Scan button.
Select the scanner, select the scanner attributes, and click Scan.
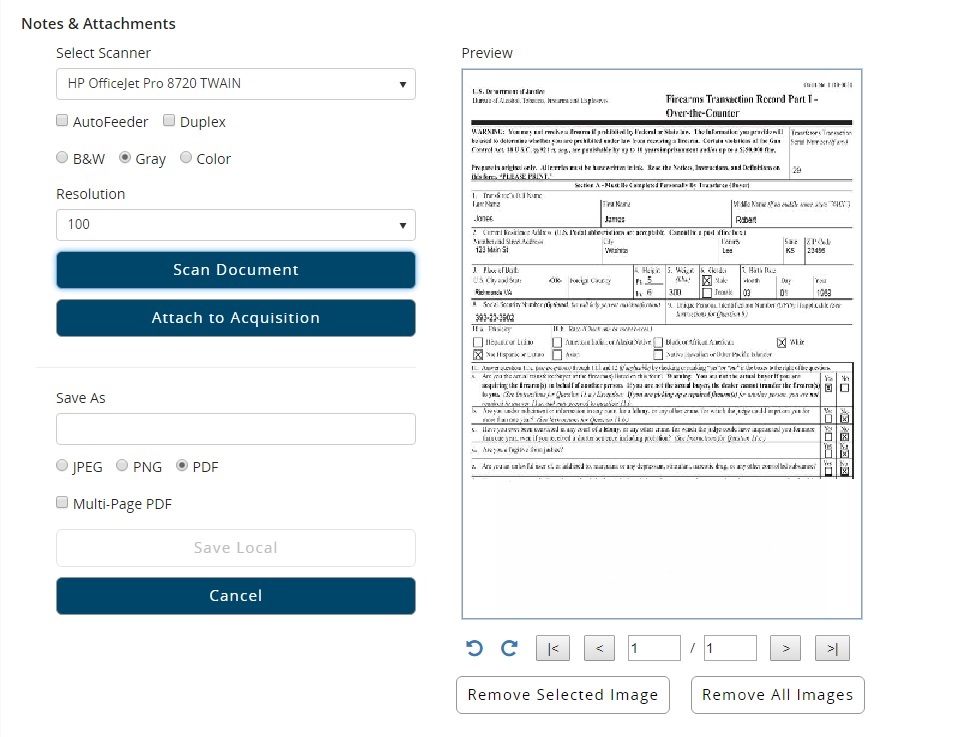
Once you are satisfied with the scanned image, click Attach to Acquisition.
You may also save the image by filling out the Save As field and clicking on Save Local.
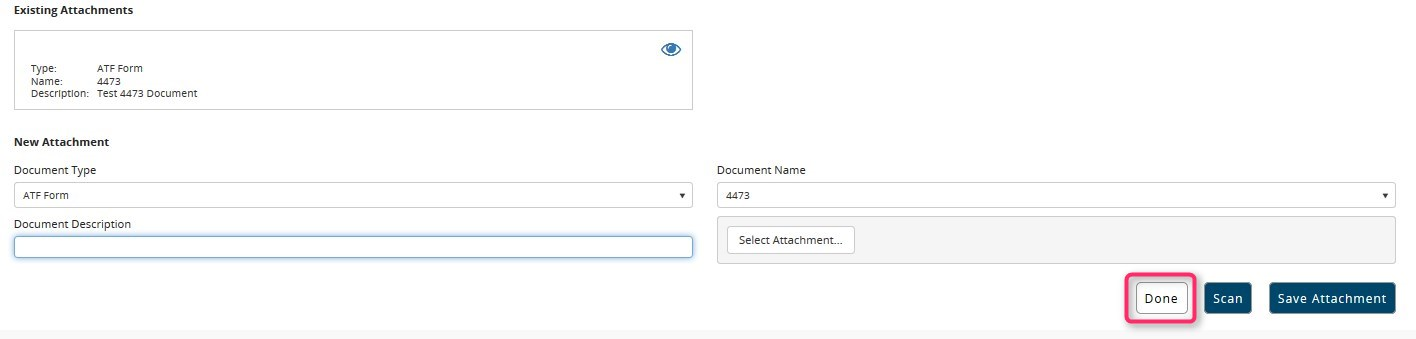
Once you have attached all the desired documents, click Done to complete the transaction.
![]()